Chapter 3.2
Selecting machine guards
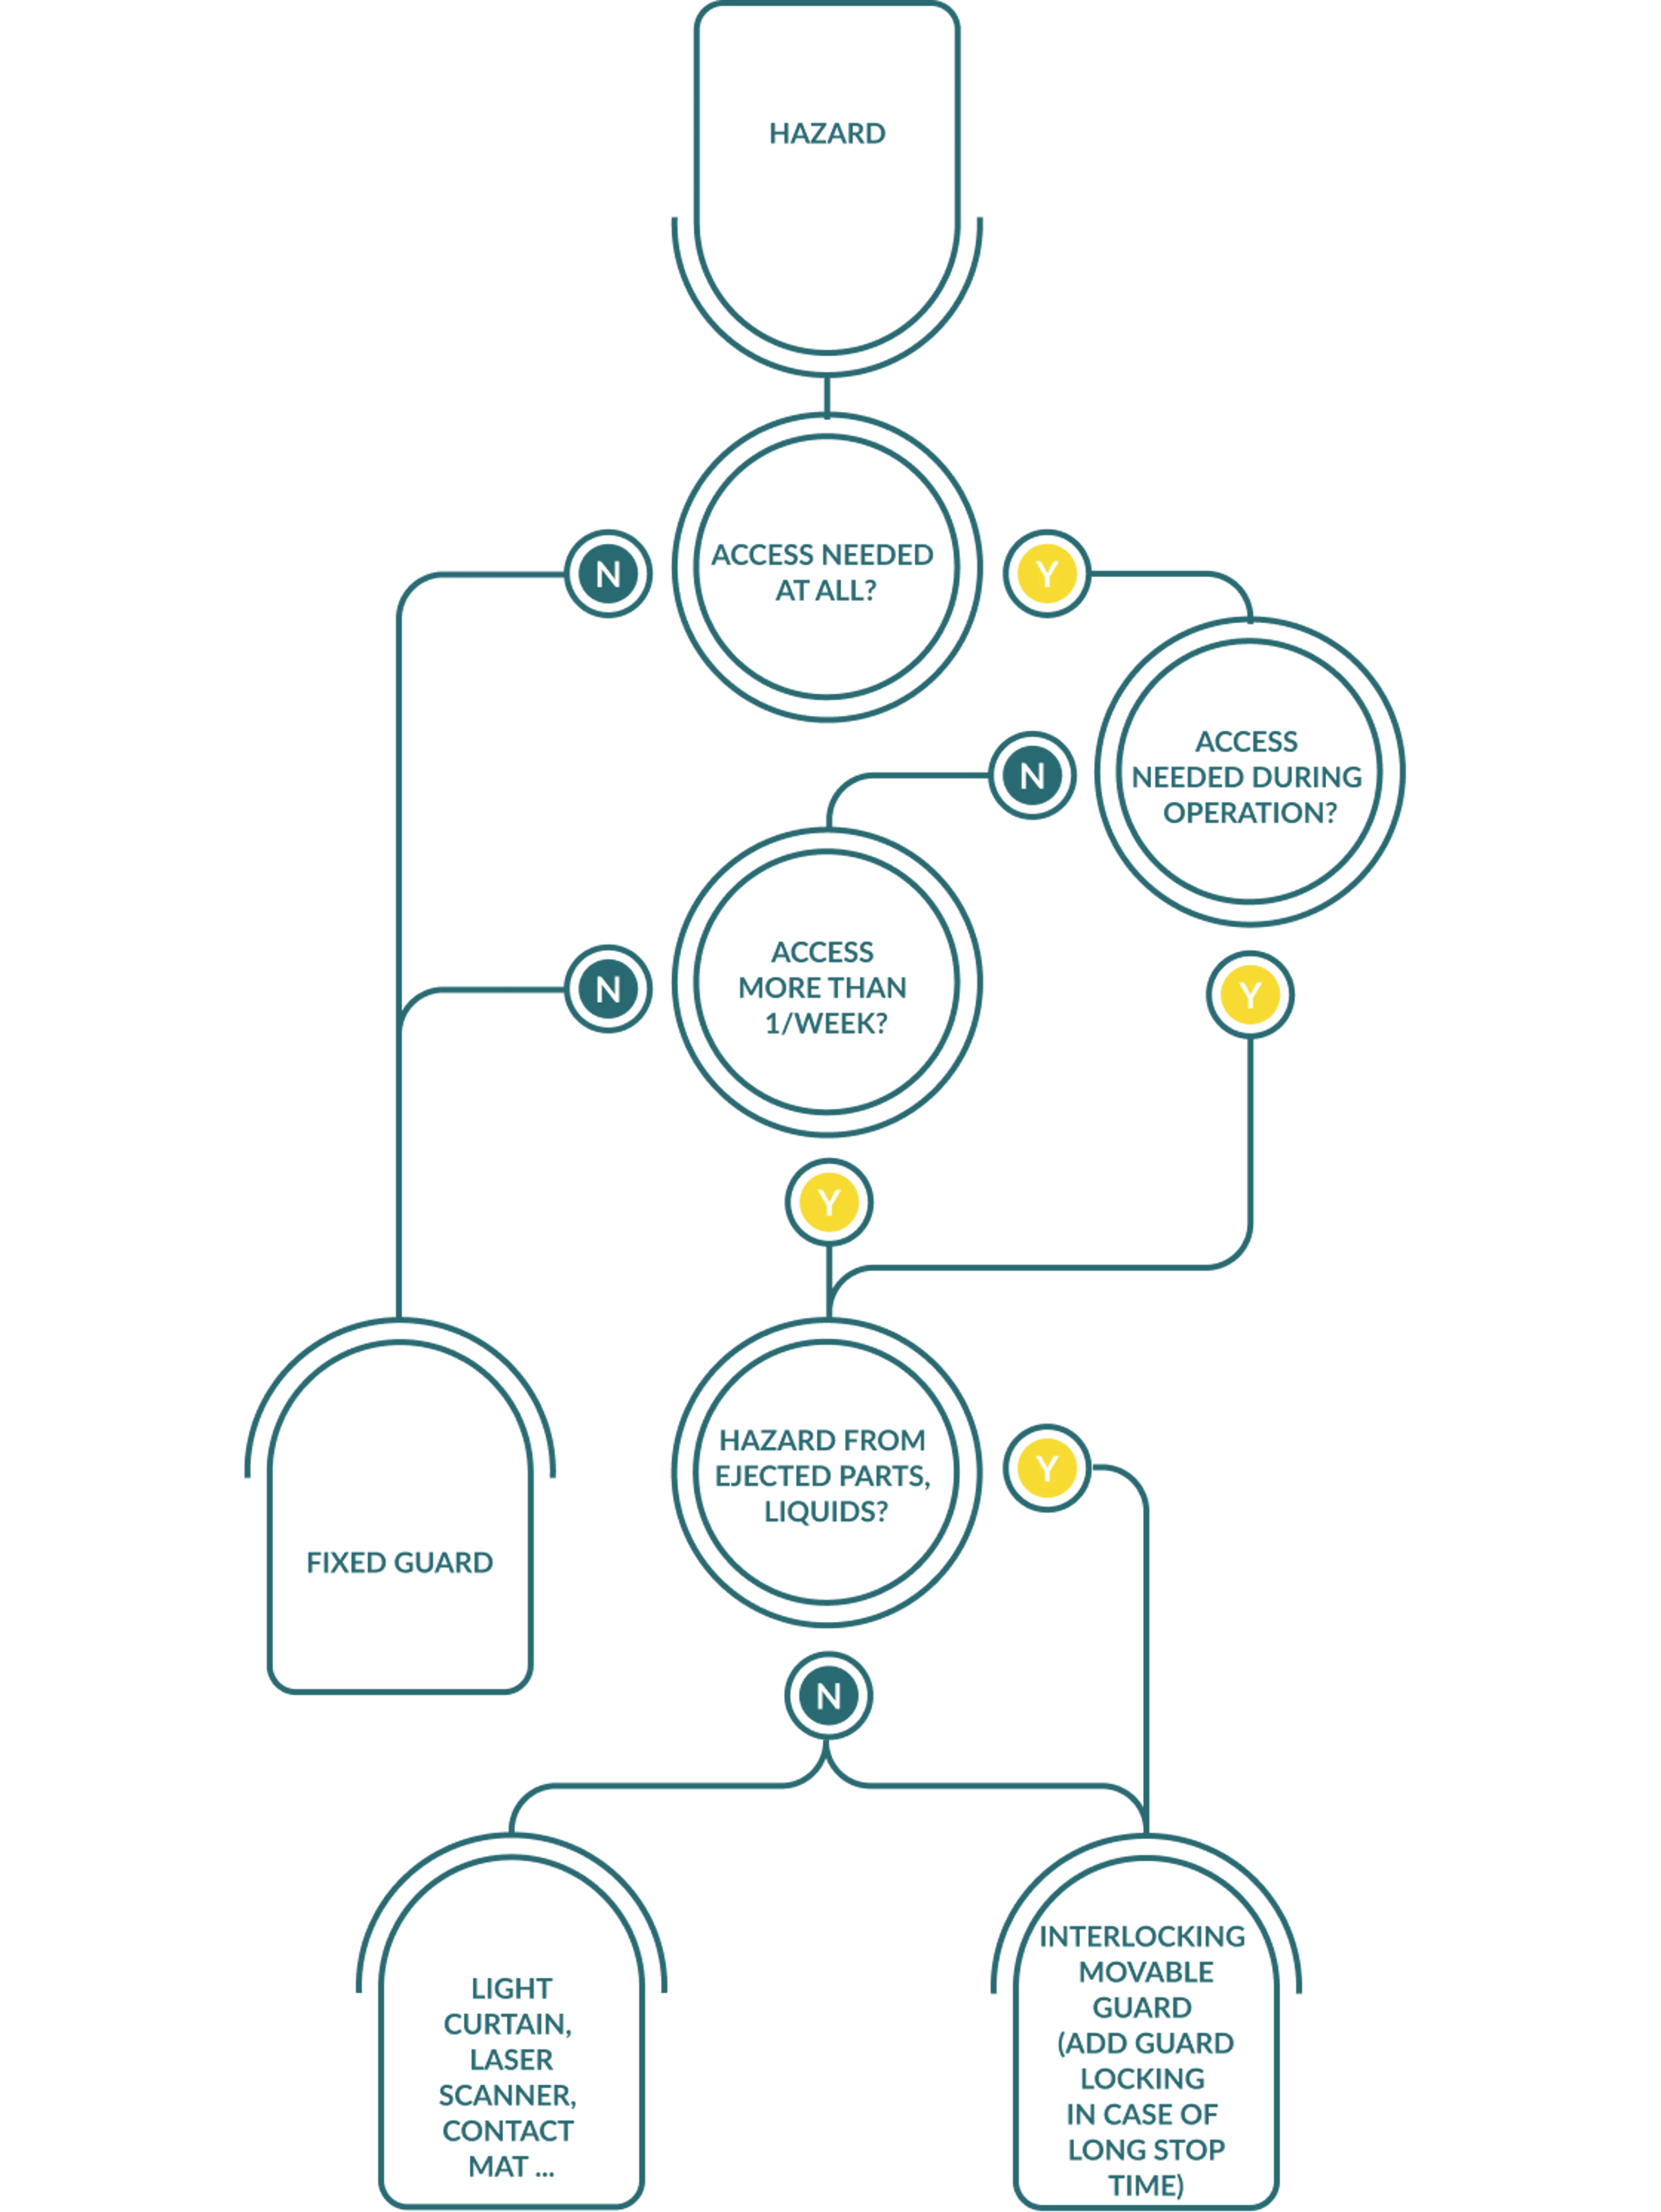
Fixed guards, integral to the machine, prevent access to hazards. Strong and tool-removable, they suit areas rarely accessed (e.g., less than once per week) and can be mounted on machines or as perimeter guards for larger equipment. Below we explain when, where and which guard to use in different types of situations.
The importance of fixed guards
If a hazard area rarely needs to be accessed (typically less than once per week), it is recommended that you use fixed guards. A fixed guard is a cover preventing access and holding the hazard inside the machine. The guard is considered a part of the machinery, not a type of optional accessory.
Three basic rules apply to fixed guards:
- They must be suitable and strong enough for the expected hazard.
- It must not be possible to remove them without using a tool. A coin is not a “tool” but a standard screwdriver or wrench is. The fasteners used must be “no-loss" or “non-removable”, they must stay either on the guard or at the machine (see below for further clarification).
- They must not be able to stay in place when all fasteners have been removed. This is as far as physically possible and not dangerous. You should not allow a heavy guard to drop as it could cause injury or damage.
When is it allowed to remove a fixed guard?
Since fixed guards are typically not monitored electronically, they must only be removed when the machine is stopped safely. The standards require that they be removed under a “safe system of work” only. That is a formal procedure laid out in writing.
The procedure should include at least the following information:
- What are the conditions that must be met before the guard may be removed?
- In which situations or why may the guard be removed?
- Who may remove the guard (qualifications)?
- Which hazards are present once the guard has been removed?
- What is to be done before the machine can be restarted?
Safety expert Matthias Schulz takes you through a detailed webinar on mastering risk assessment. Learn practical techniques and expert advice to evaluate and manage risks confidently, improving safety and compliance in your organization. The webinar begins at the 2:00 minute mark.
Why and when must guard fittings be non removable?
When the requirement for so called “no-loss fasteners” first appeared, there was much discussion about it. But their use has meanwhile been clarified by comments in (EN) ISO 14120.
No-loss fasteners need to be used when:
- The guard needs to be removed for planned activities such as setting, troubleshooting or maintenance (performed less than once a week)
- Loss of the fasteners is likely to occur.
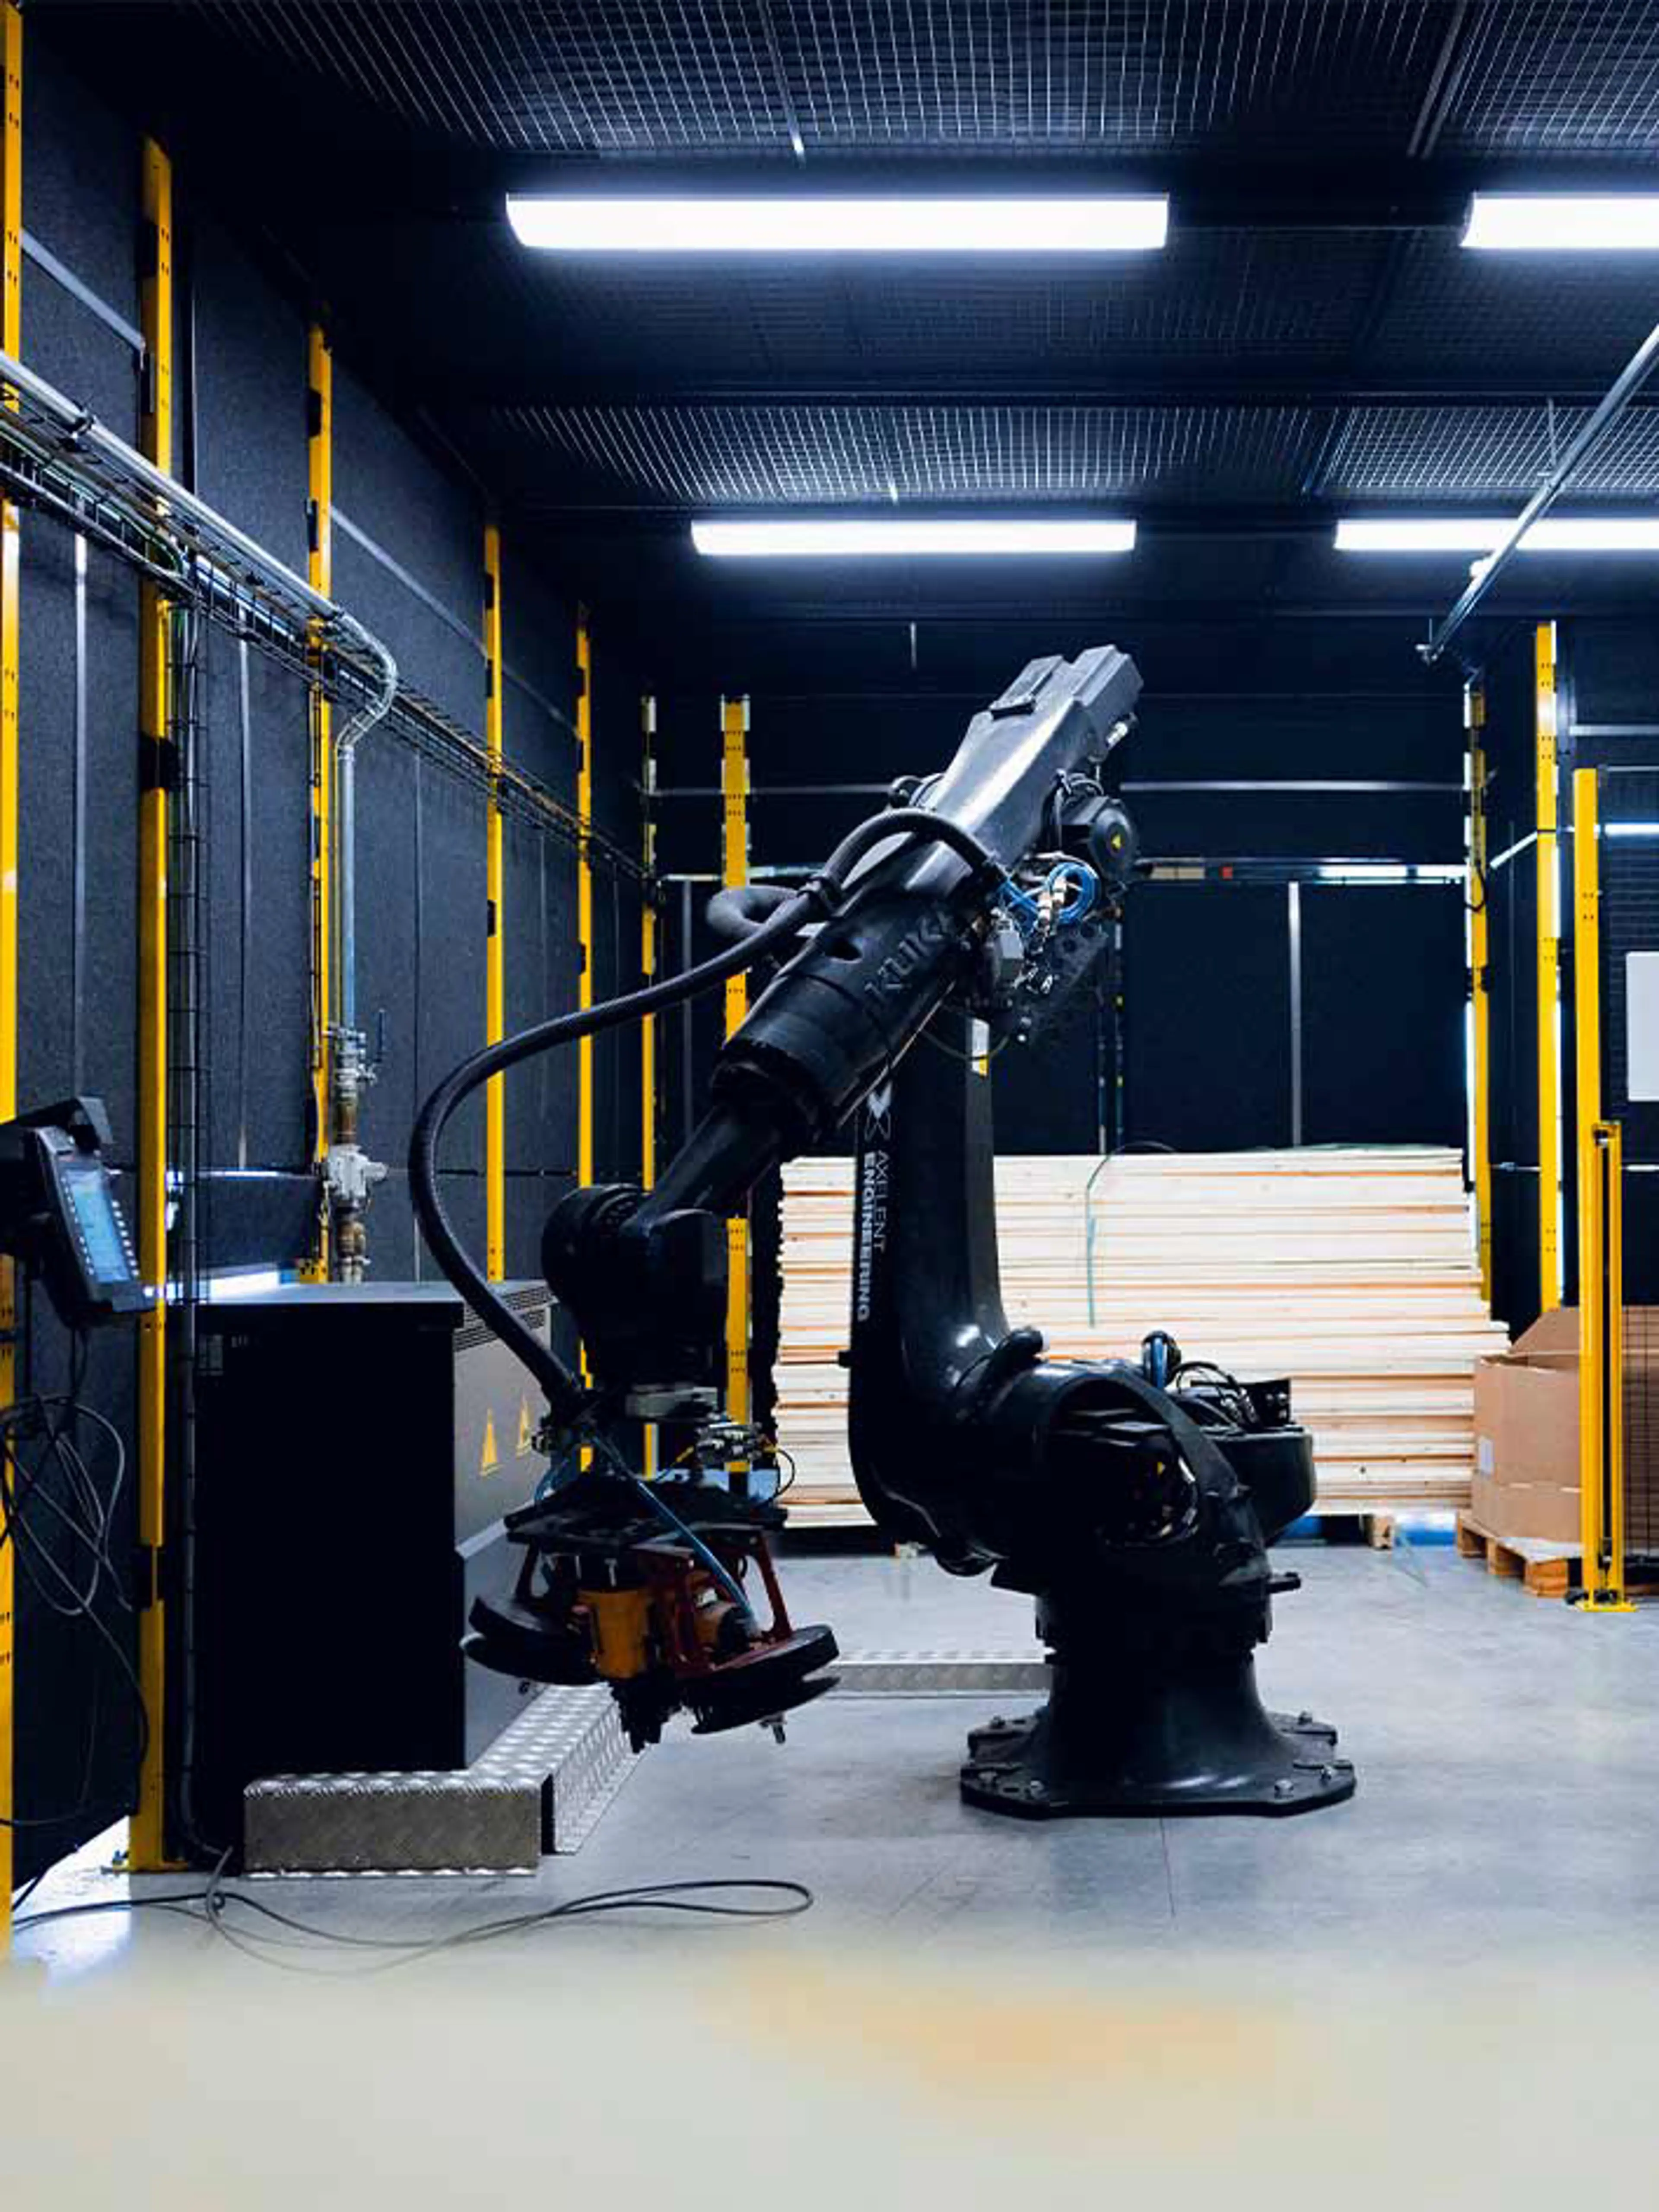
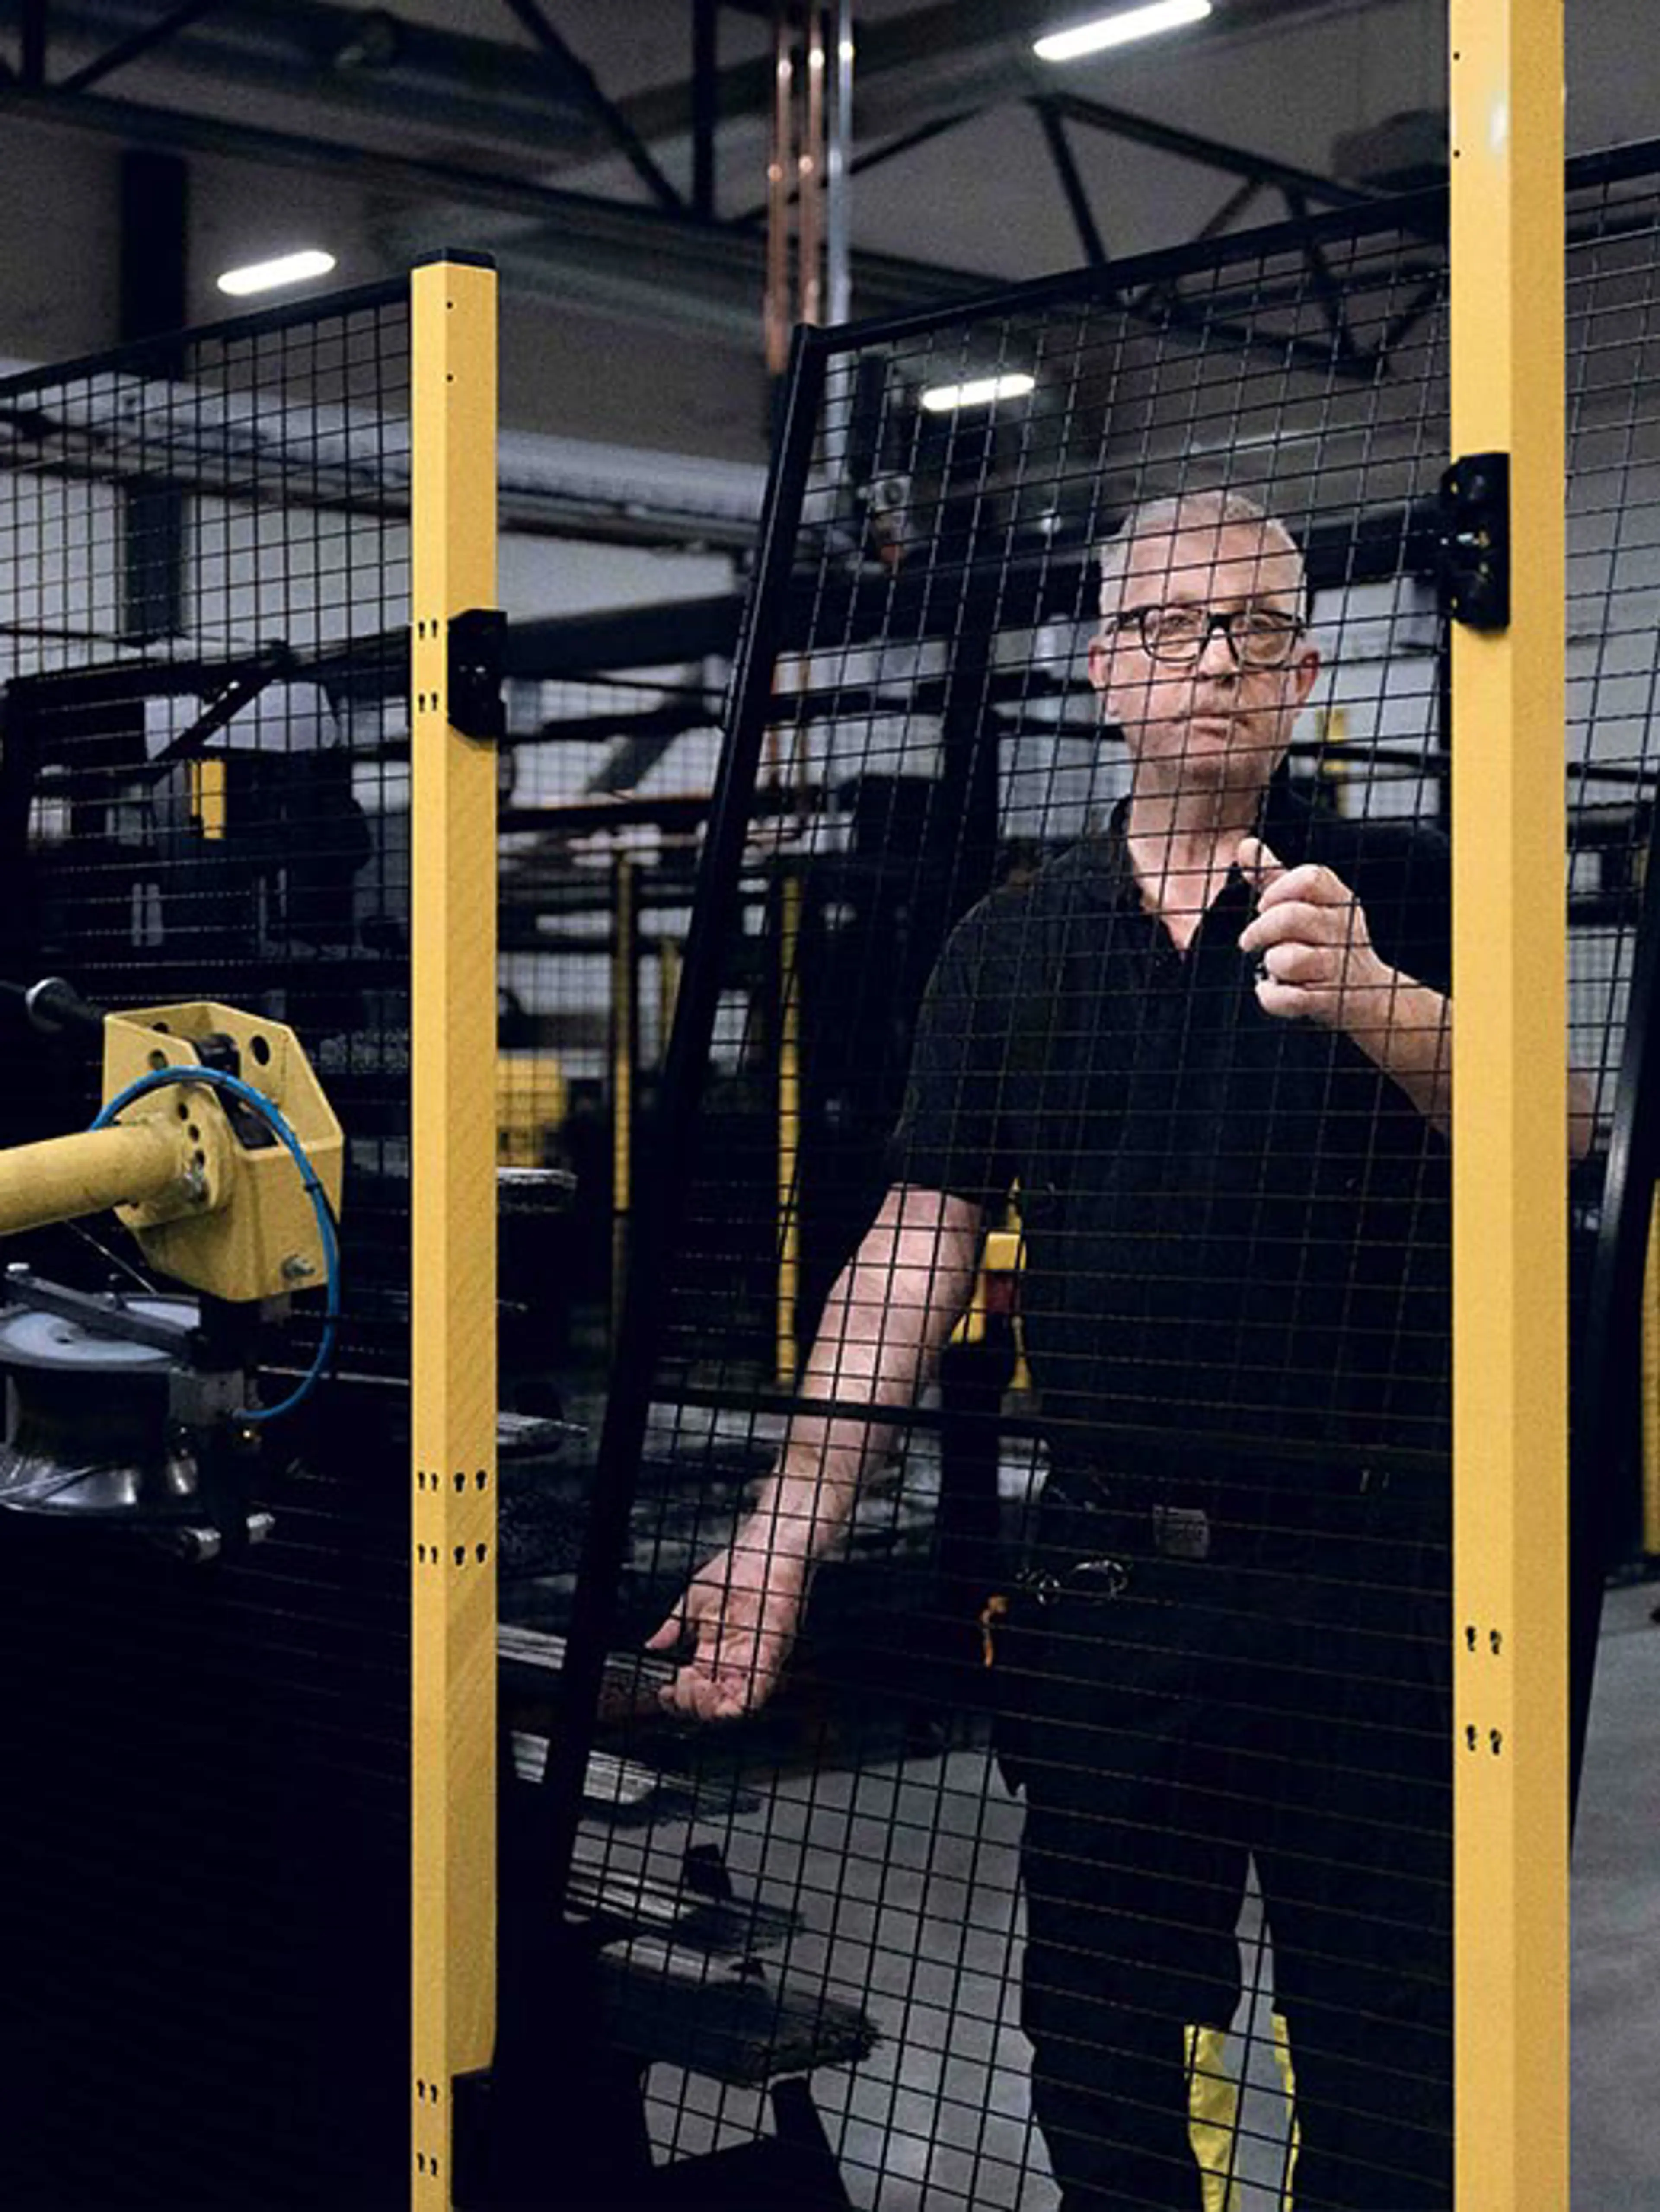
No-loss fasteners are not needed when guards need to be removed only for major overhaul or transport to a new installation site. Axelent’s X-Guard system always meets the requirement, since it does not feature removable fasteners, but one needs the X-key to remove panels.
Determining the proper height of guard fencing
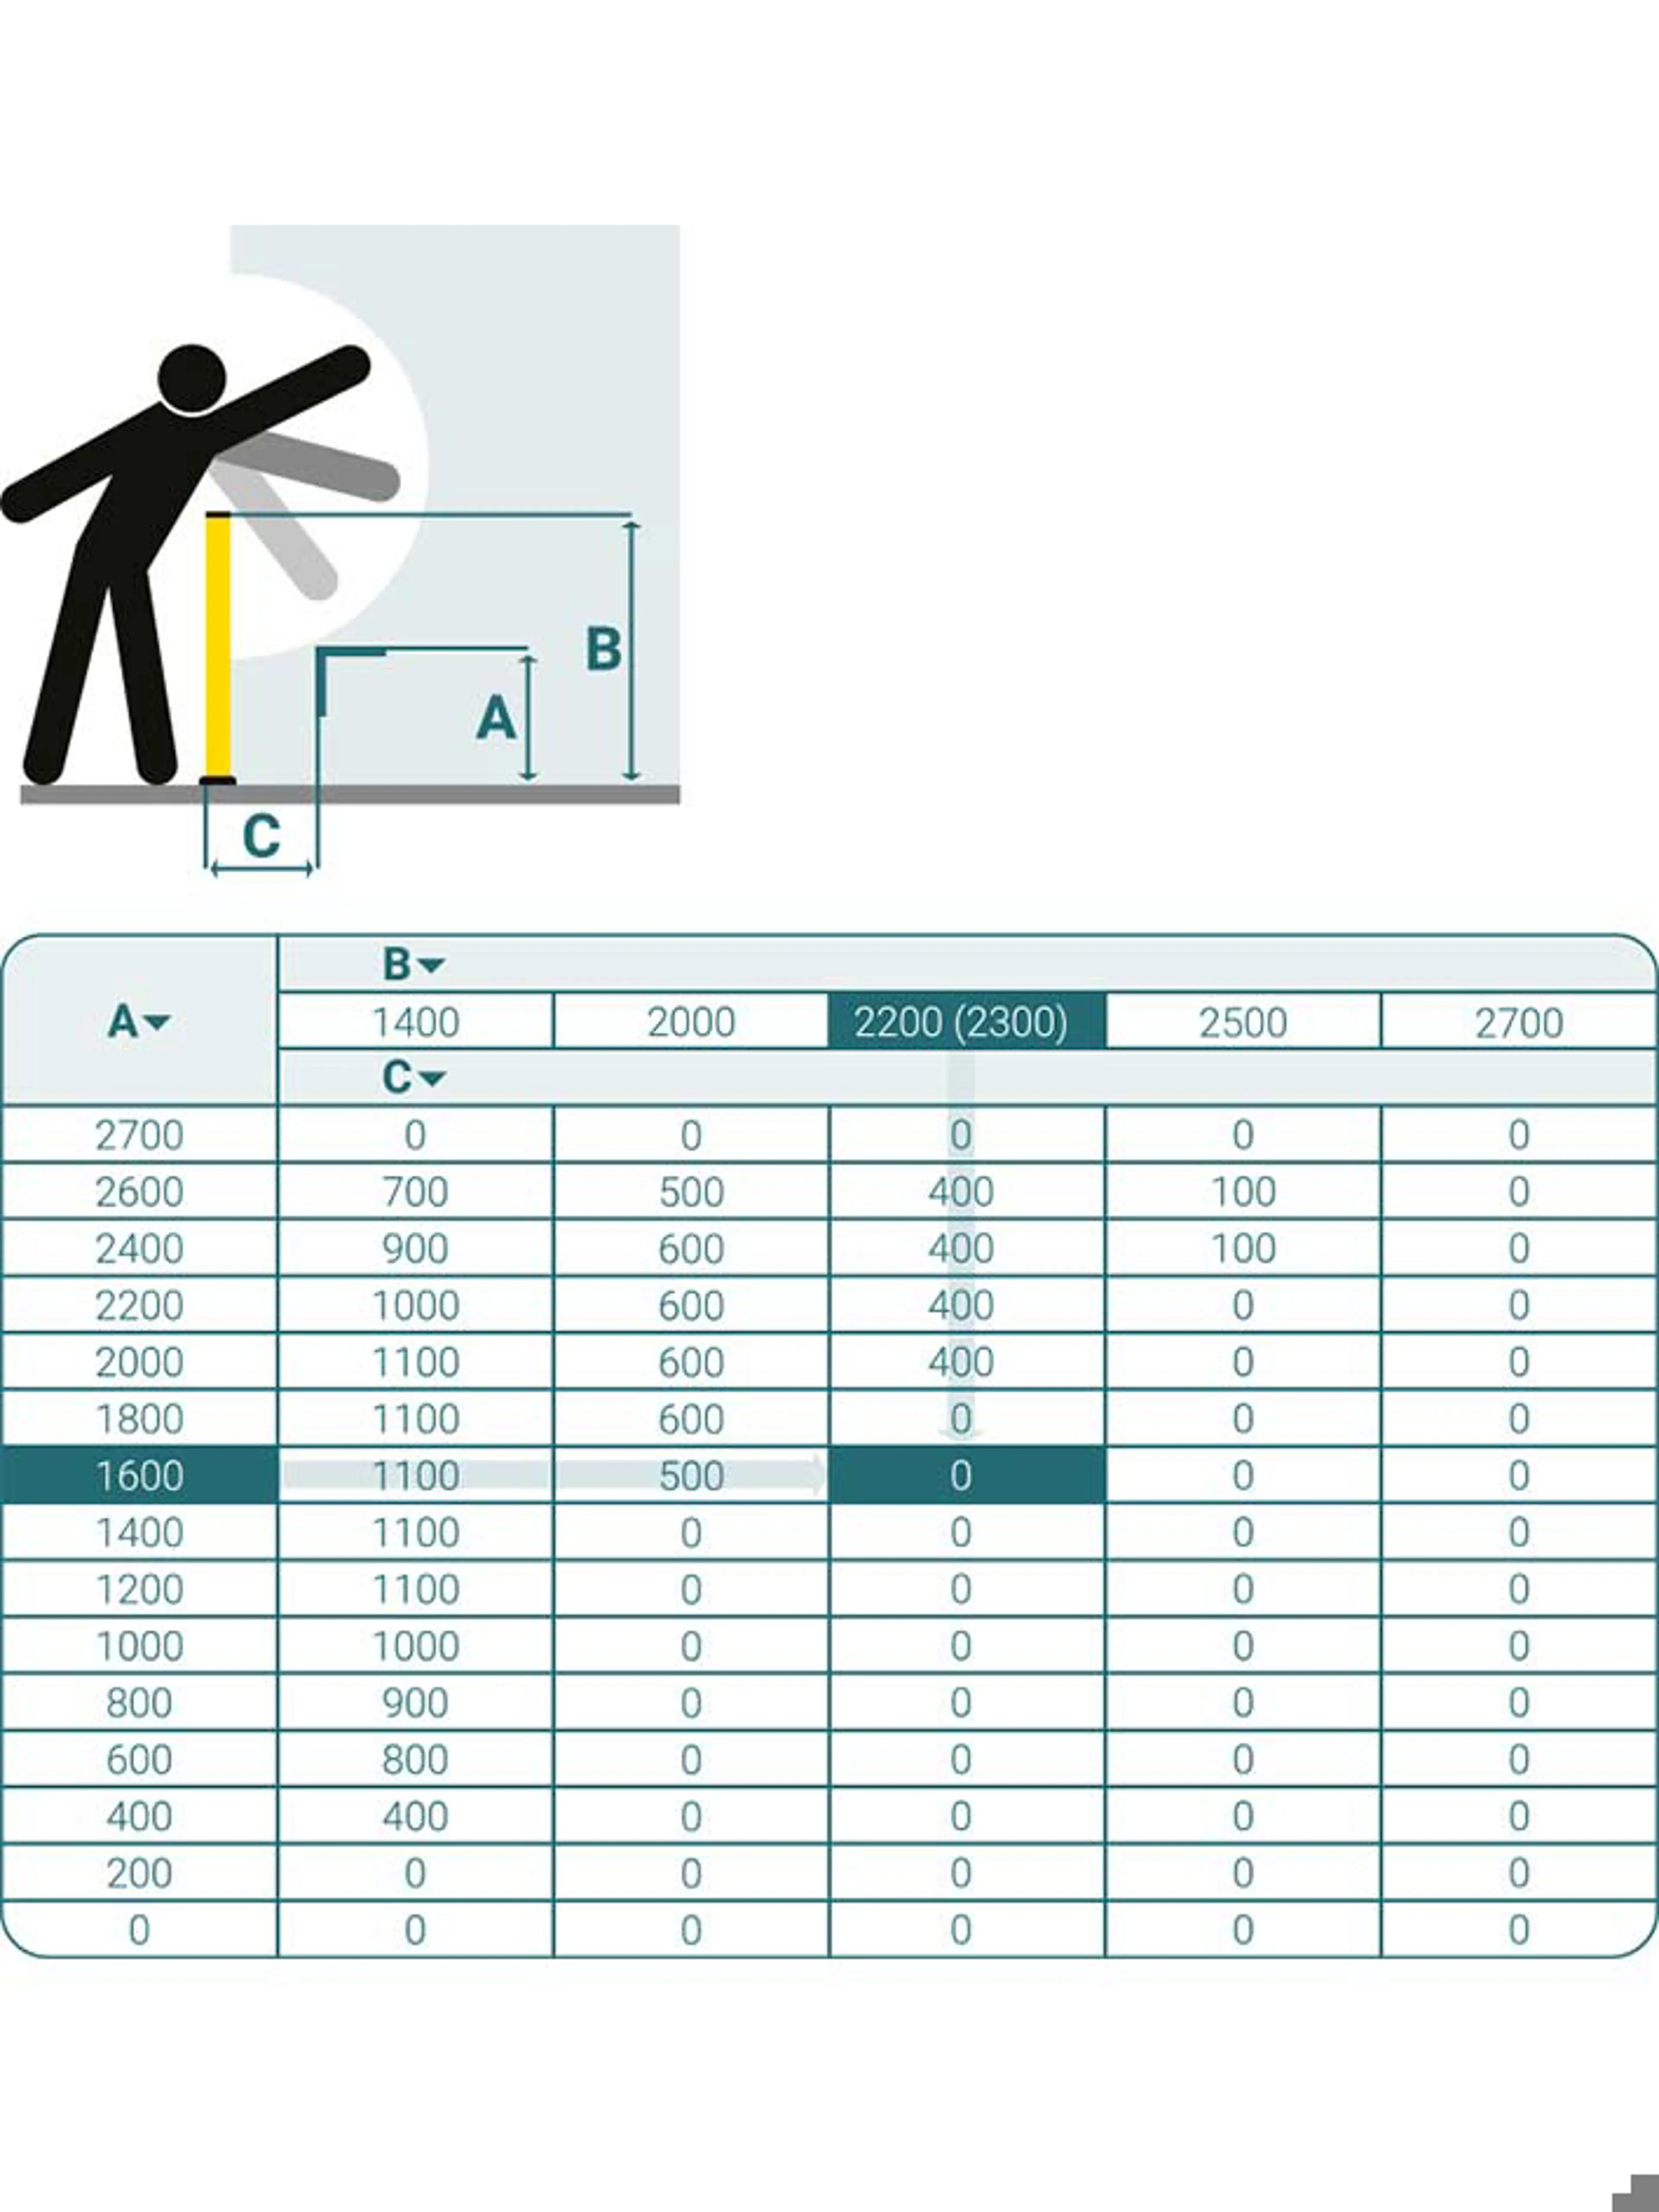
The international standard requires a minimum height of 1400 mm. Lower fences are easy to climb over and thus not allowed. In most cases, fences will be a lot higher.
The proper height depends on two dimensions:
- The height of the danger zone above the floor (note that the highest point may be above the top edge of the planned guard fence)
- The horizontal distance from outside the fence to the danger zone
When these dimensions are known, you can read the required height of the fence from the chart which has been taken from (EN) ISO 13857. The same values are given in ANSI B11.19 Annex E and CSA ISO 13857.
Note: There are also minimum distances that must be kept from the inside of a mesh panel to the hazard zone.
Mesh grid size aperture - Safety distance
Up to a slot height of 20 mm, the safety distance is ≥ 120 mm.
The same applies to square openings that are no bigger than 30 x 30 mm.
However, if the slot is more than 20 mm high and 30 to 65 mm wide, a greater safety distance of 200 mm is needed.
If you need to go closer to the hazard for lack of space, use solid panelling.
Standard mesh pitches offered by Axelent:
- 20 x 50 mm ≥ 120 mm
- 30 x 50 mm ≥ 200 mm
Selection and positioning of a protective fence
Hazard area
Determine the position of the hazard area.
Height
Determine the maximum height of the hazard area. In this case 1600 mm.
Horizontal distance
Determine the horizontal distance of the hazard zone to the fence.
In this case 400 mm.
Select correct fence height from table in the standard
EN ISO 13857, Table 2, adapted to Axelent’s fence height range (see table above).
In this case, the correct minimum fence height is 2200 mm.
Ground clearance
Check if reaching around the guard into a hazard zone is possible.
Ground clearance
If a hazard area is near the ground, it must be at least 1100 mm away, otherwise the ground clearance must be closed, e. g. with Axelent kick plate.
Part ejection or spillage
Can parts be ejected or hazardous liquids be spilled?
Part ejection or spillage
If the parts are smaller than the selected mesh pitch or liquid can be spilled, consider using
plastic or sheet metal panels.
Movable guards for frequent access
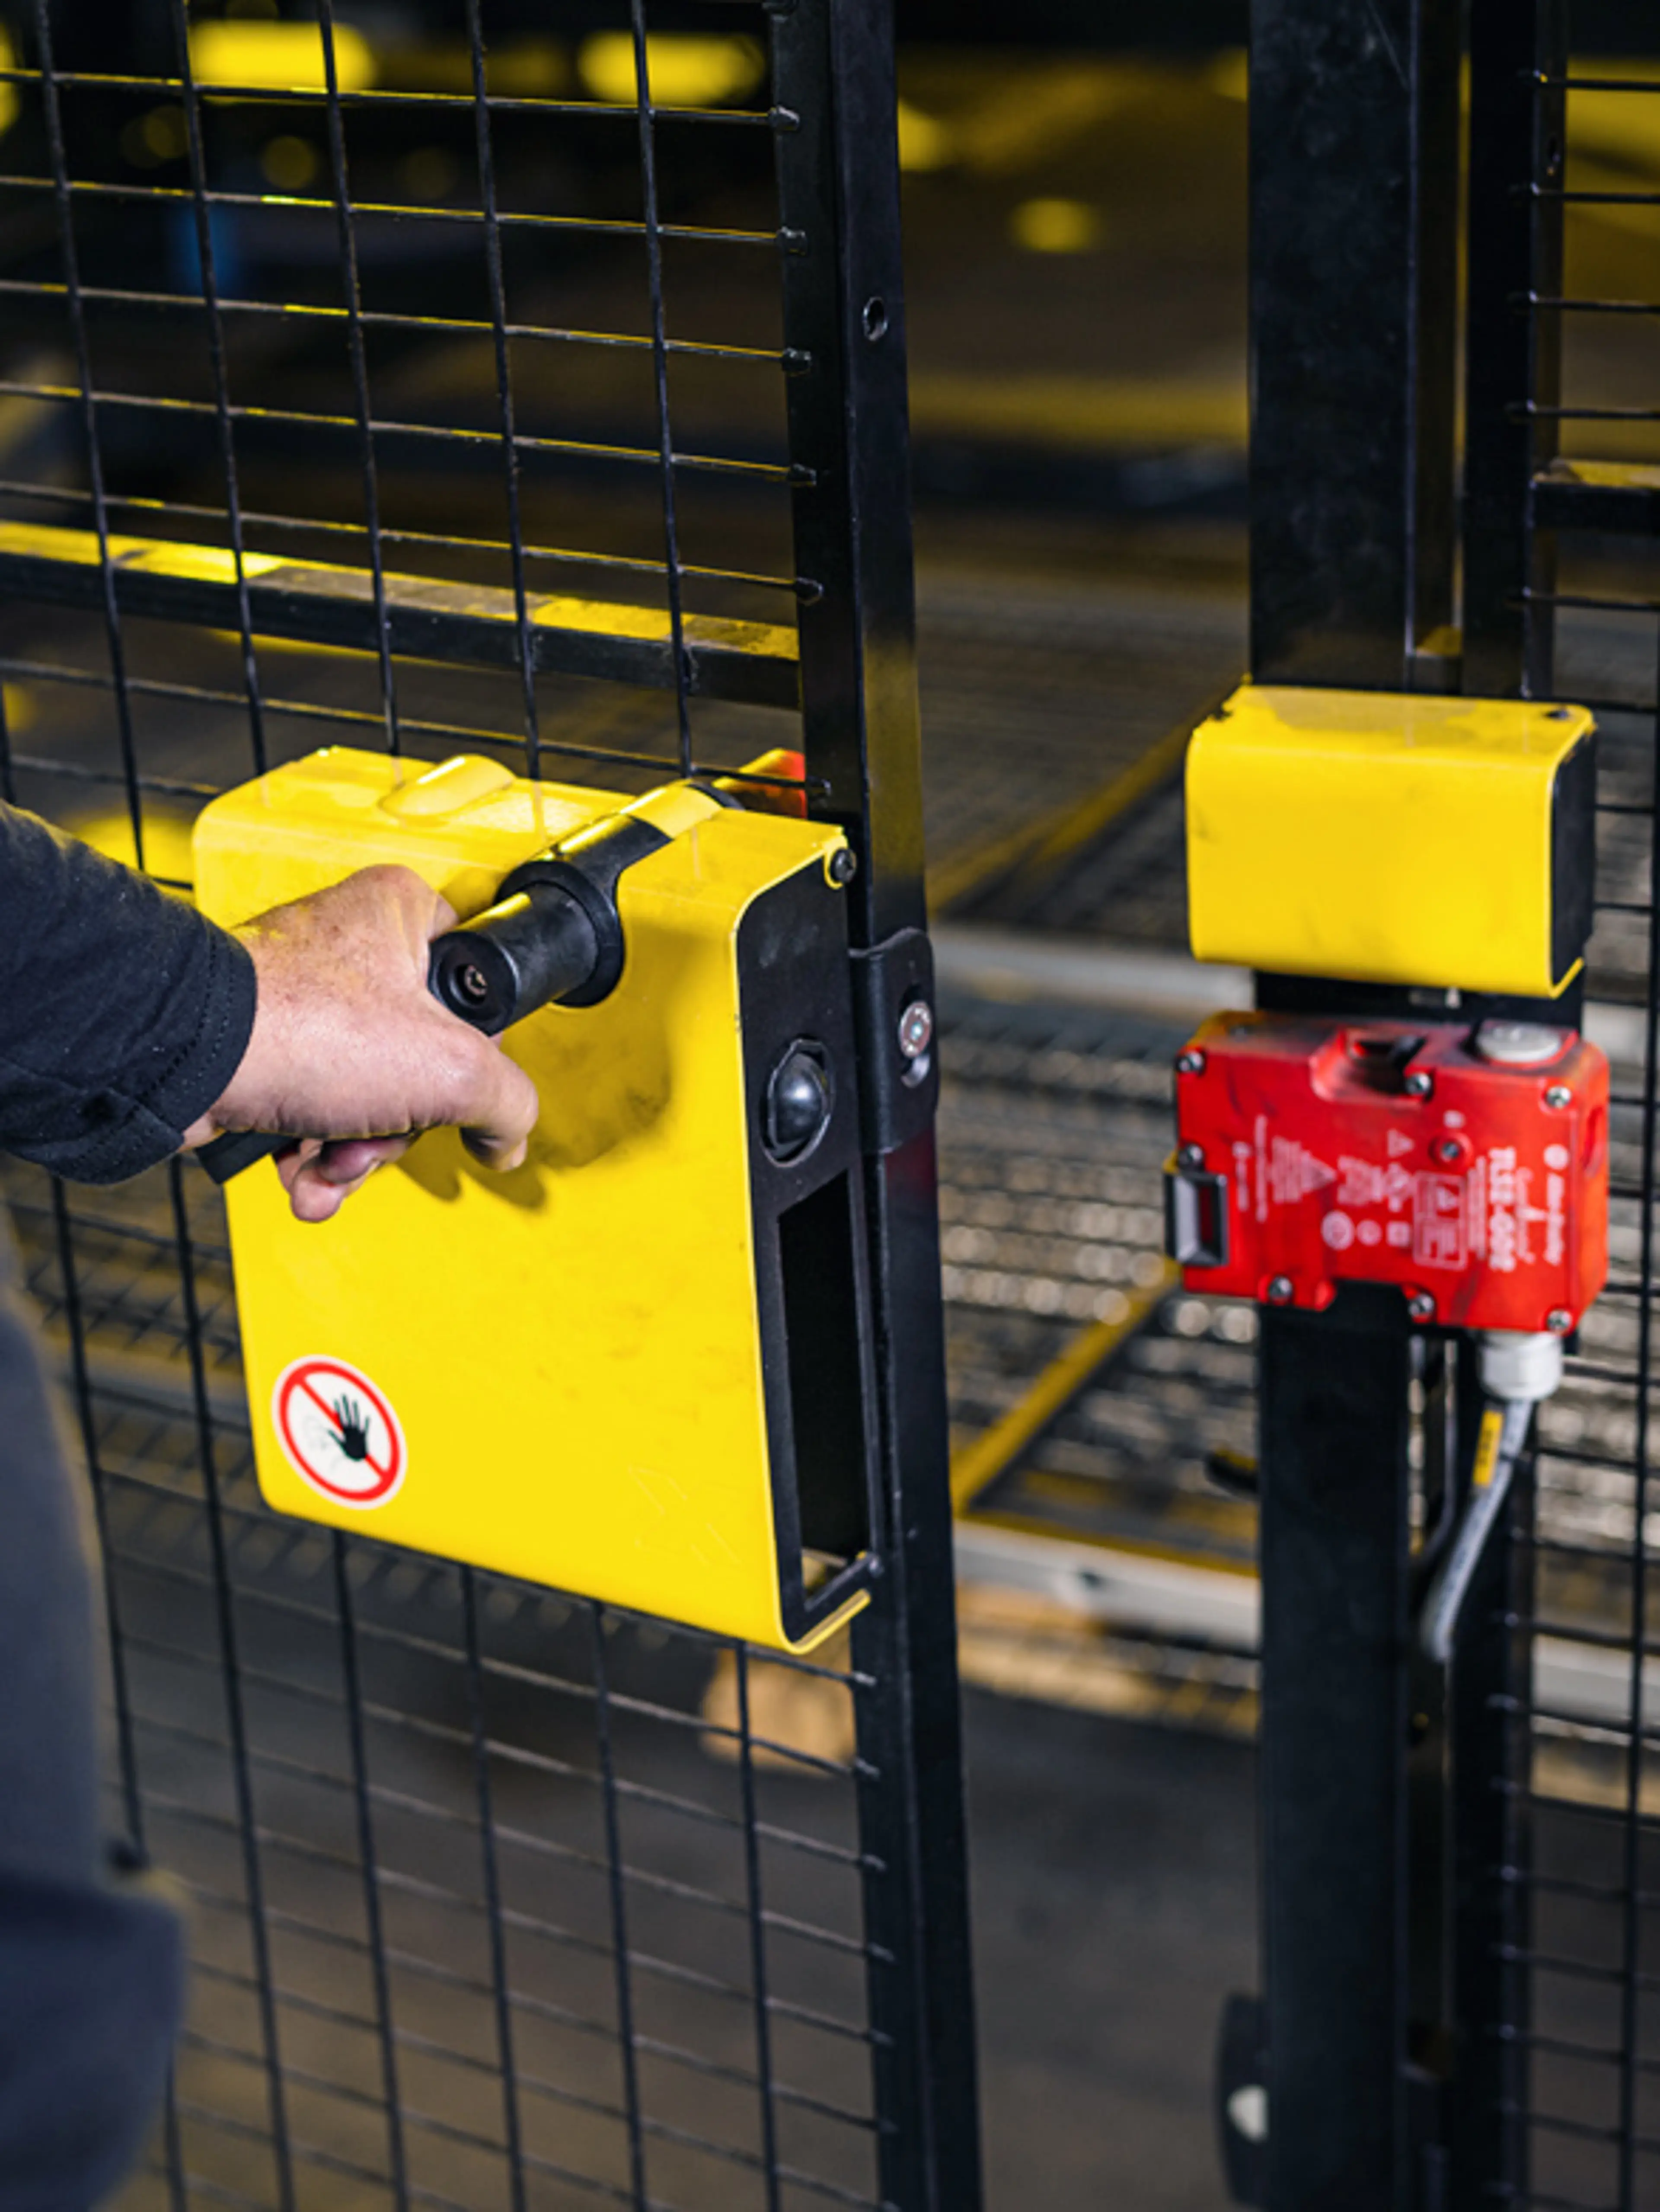
Movable guards include hinged and sliding doors, lids and flaps. They can be opened and closed quickly. But to prevent them from remaining open during operation they must be monitored.
When to use movable guards
If a hazard area needs to be accessed frequently (typically more than once per week), one will use so called movable guards.
There are two main requirements for them:
- The machine control system must monitor the guard’s condition (open/closed). It must stop any hazardous movement/situation in the machine when it is open.
- It must not be possible to start hazardous movements as long as the guard is open.
This is called “interlocking” because it “locks” movement of the drive(s) of the machinery depending on the condition of the guard. Most movable interlocking guards come in the shape of hinged or sliding doors, flaps and lids.
The condition of doors is monitored by so called guard or safety switches (the proper word in standards is “interlocking device”). Essentially there are three forms of these and quite narrow rules apply to their use. For more information, see chapter 3.6 Rules for safety switches.
Guard locking
No opening during operation
Sometimes machinery will need some time to stop when a guard is opened. This means people can still reach moving parts, which is dangerous and could cause injuries.
In such cases the movable guard is fitted with an electric lock that prevents opening as long as the movement continues. This is called “guard locking” and is discussed in depth in chapter 3.4 “Guard locking”.
If an operator wants to enter the hazard zone through a locked door, they will have to “inform” the control system by pressing a push-button or touching a button on a touch screen. The machine will then stop or assume a safe condition. Thereafter the control system will automatically unlock the door. Upon power failure doors with guard locking normally remain locked. This brings up the hazard of locking a person inside a machine, see section "Dealing with locking-in hazards".
Guard locking also makes sense when opening of doors during operation would cause failures. Then, however, it is not considered a safety function, because it is not installed to ensure safety. In such cases magnetic guard lockers are often used, which allow opening upon power failure.
No start on closing
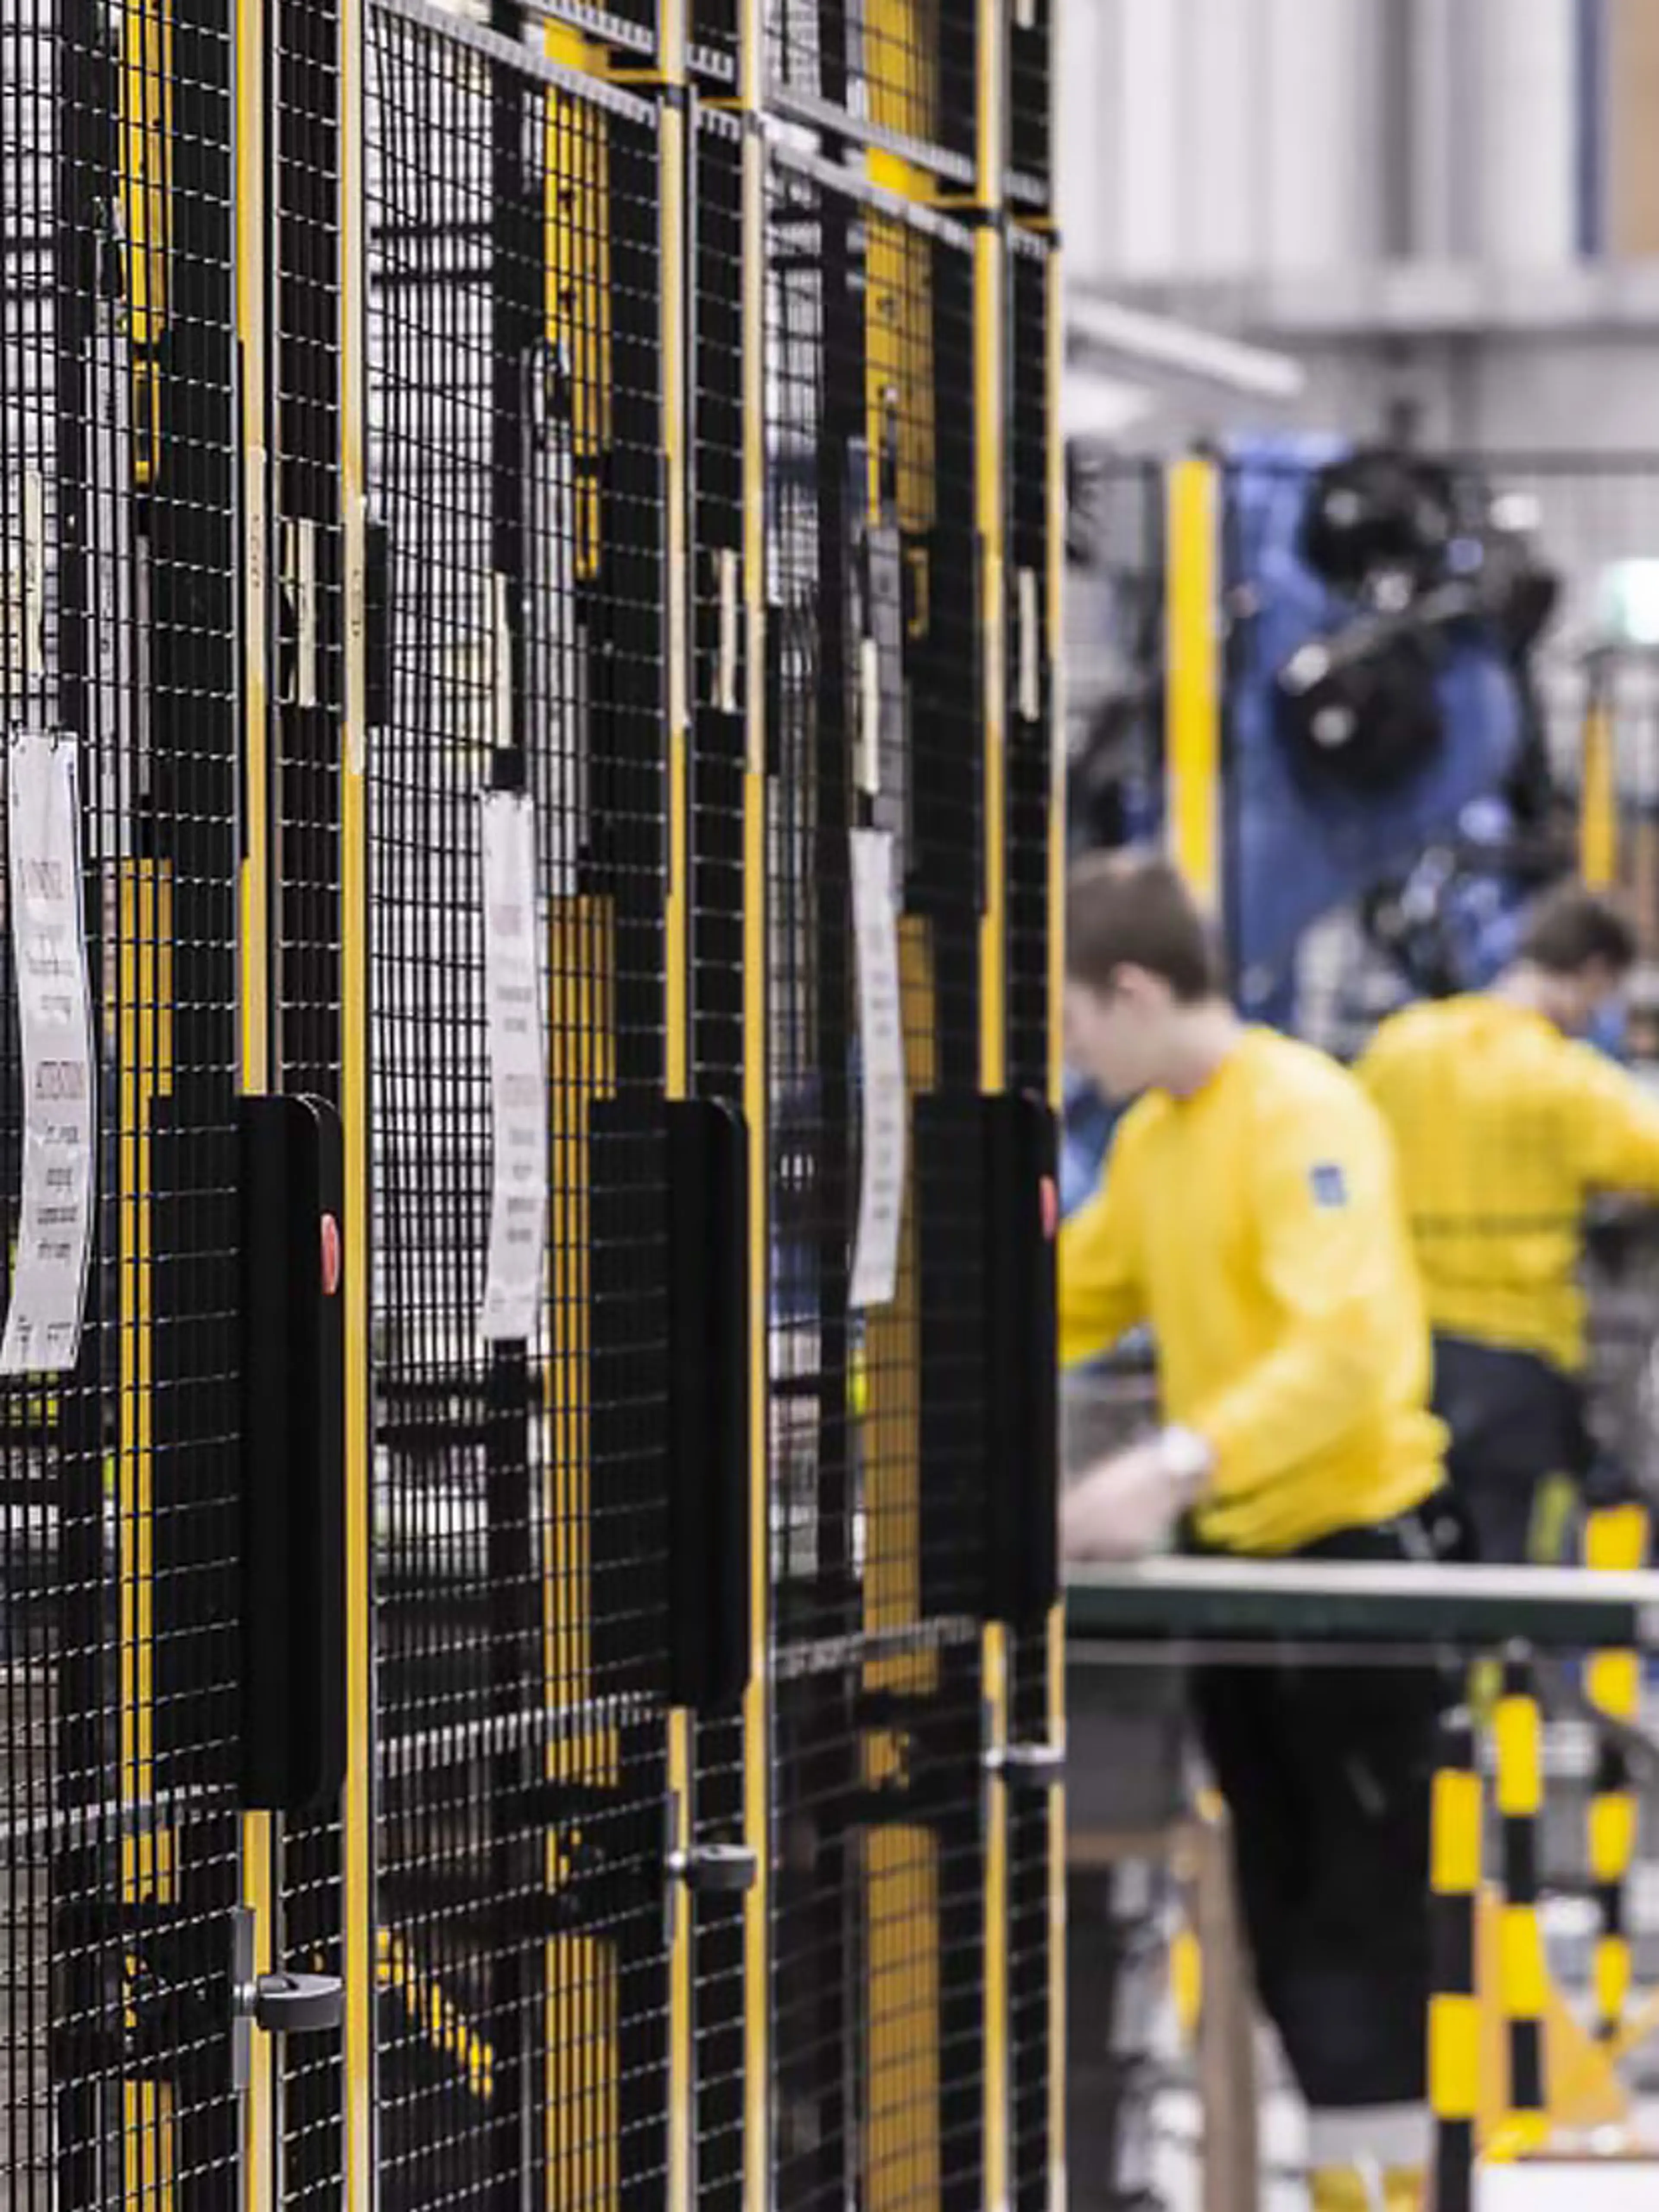
Some designers will set the control up so the movement immediately starts (again) when a door is closed. But in general, this is not allowed.
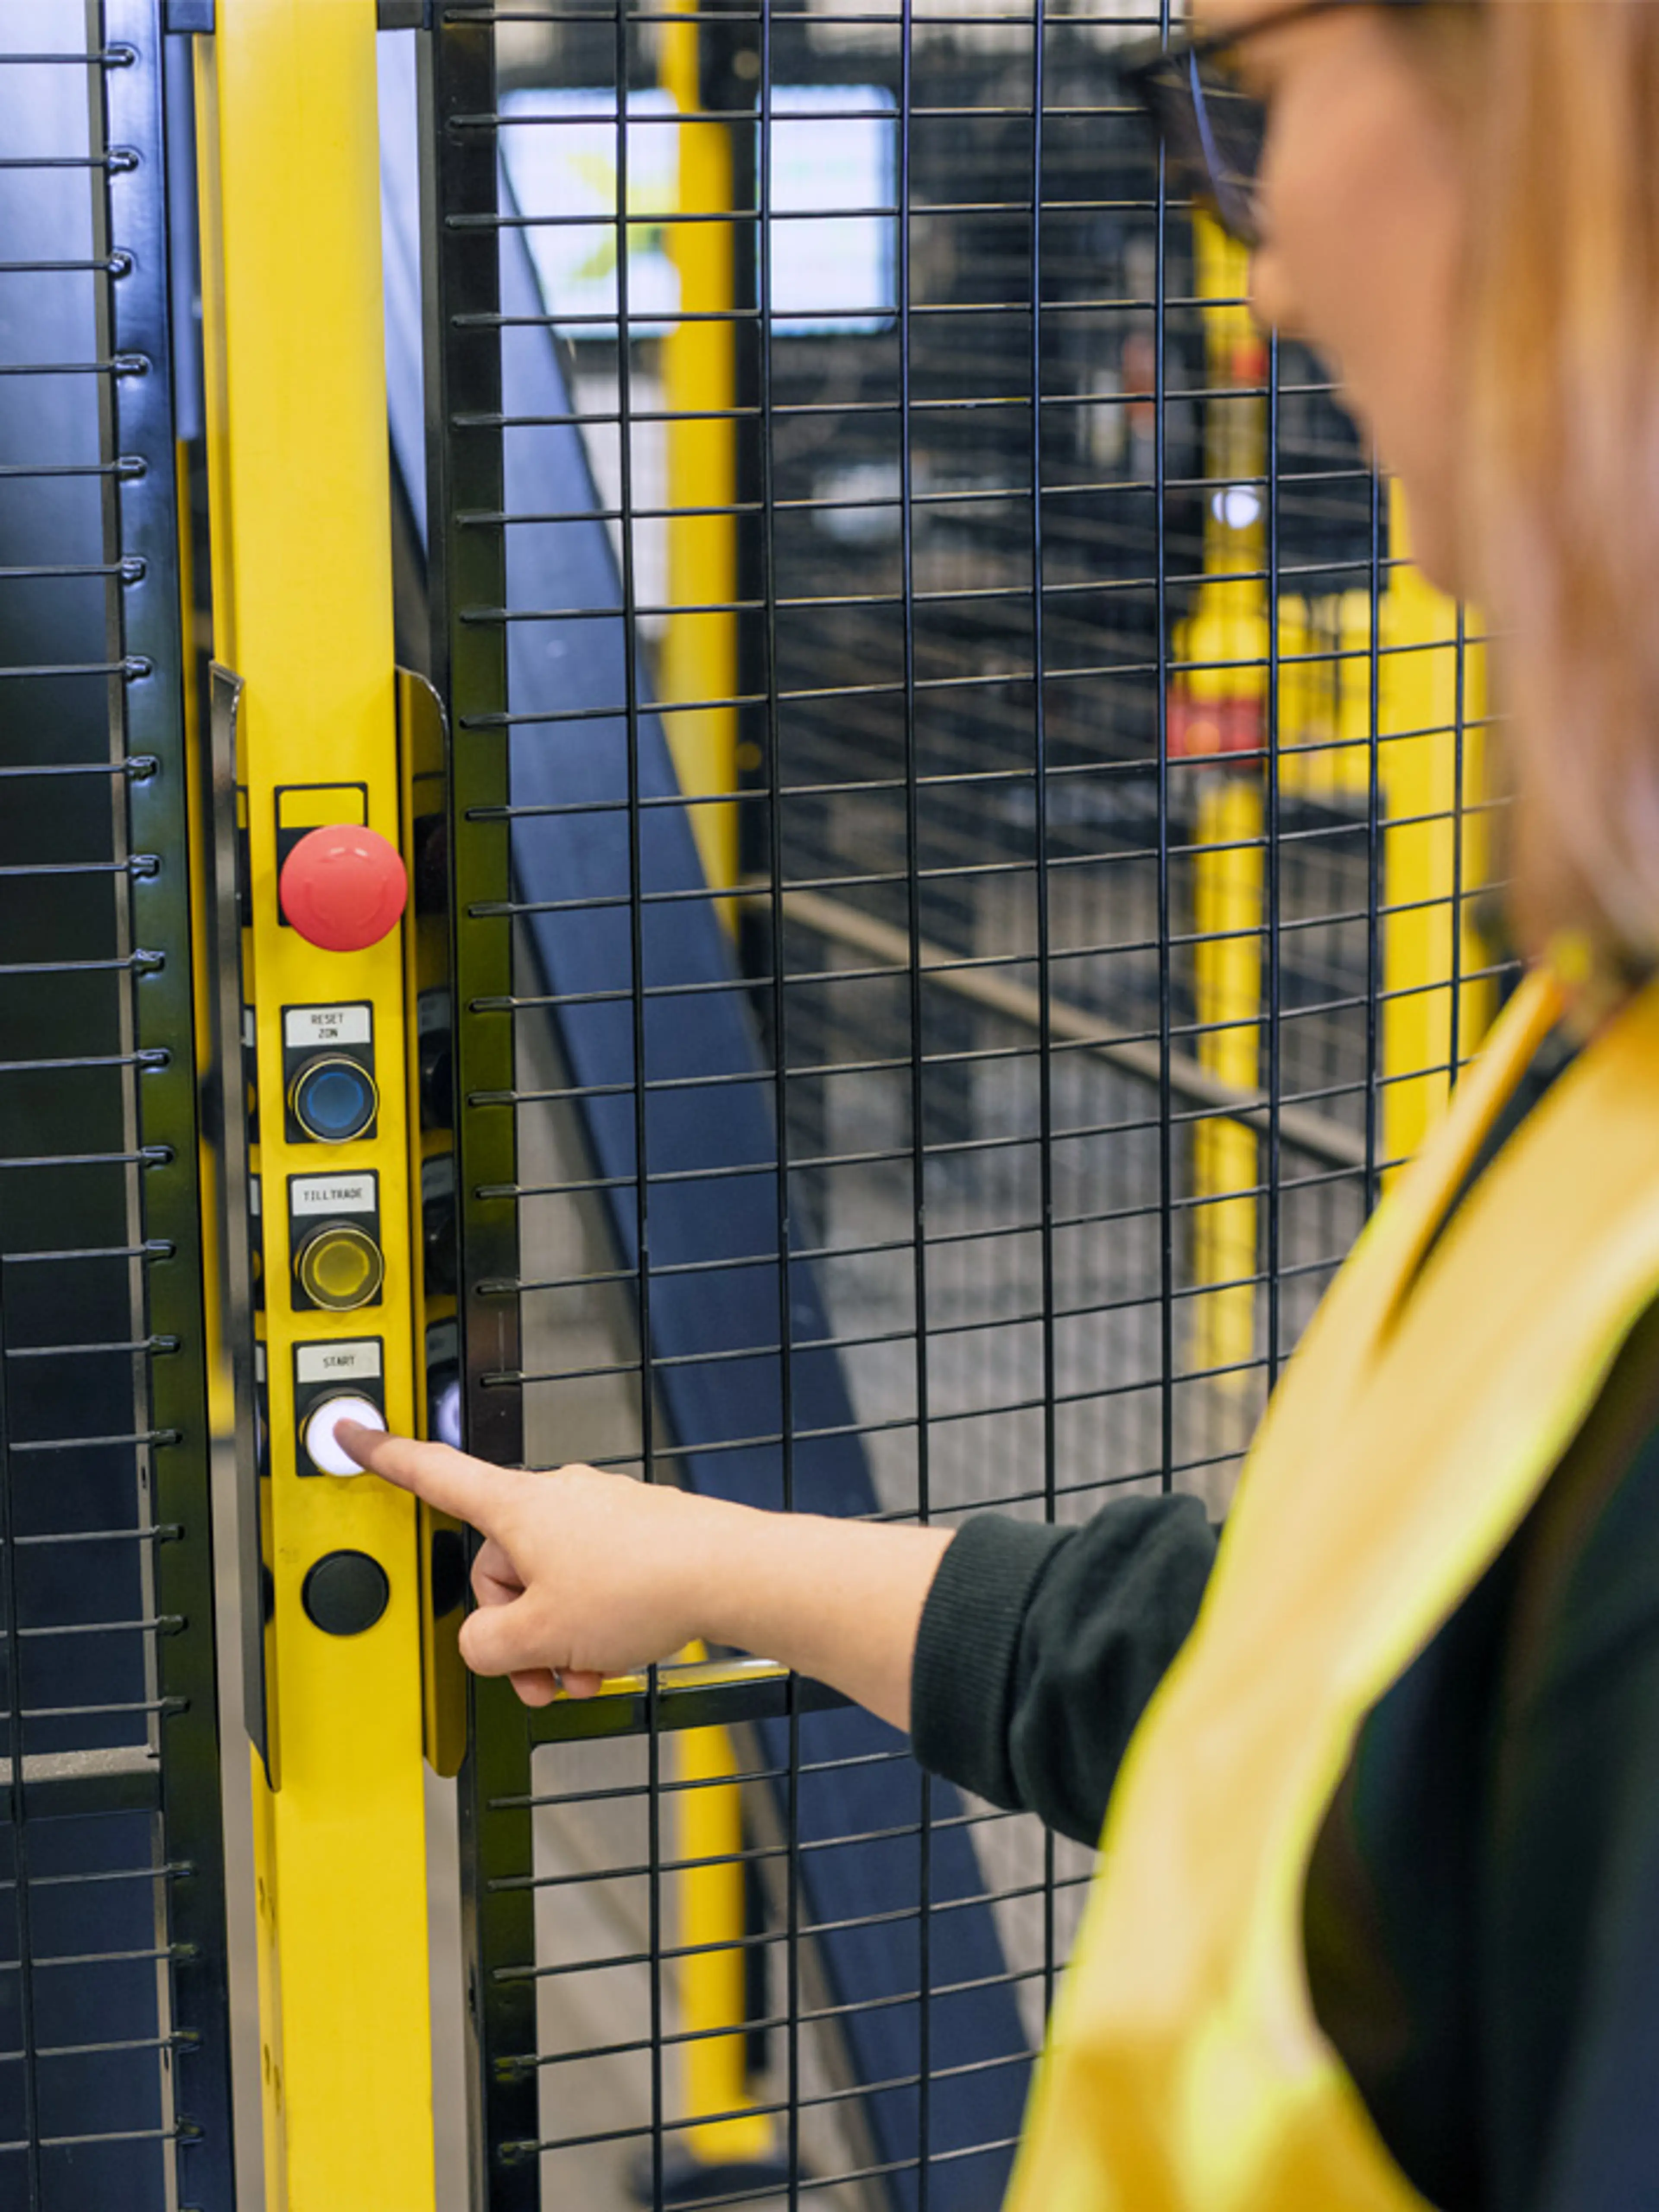
Closing the door may only reset the interlocking. A start button will still have to be pressed. And if the area behind the door is large enough to stand in, the interlocking must additionally be reset by pressing a reset button.
If closing of the guard is to start the operation, this is referred to as an “interlocking guard with a start function”.
The limits for use of such guards are quite strict:
- The open-time needs to be short and monitored. If the guard is open longer than programmed, restart is prevented.
- Closing of the guard may start one short cycle only.
- The guard must be held open safely, to prevent accidental closing (which would cause start).
- All other guards must be interlocked, so there is no kind of unmonitored access to the hazard zone.
Powered guards
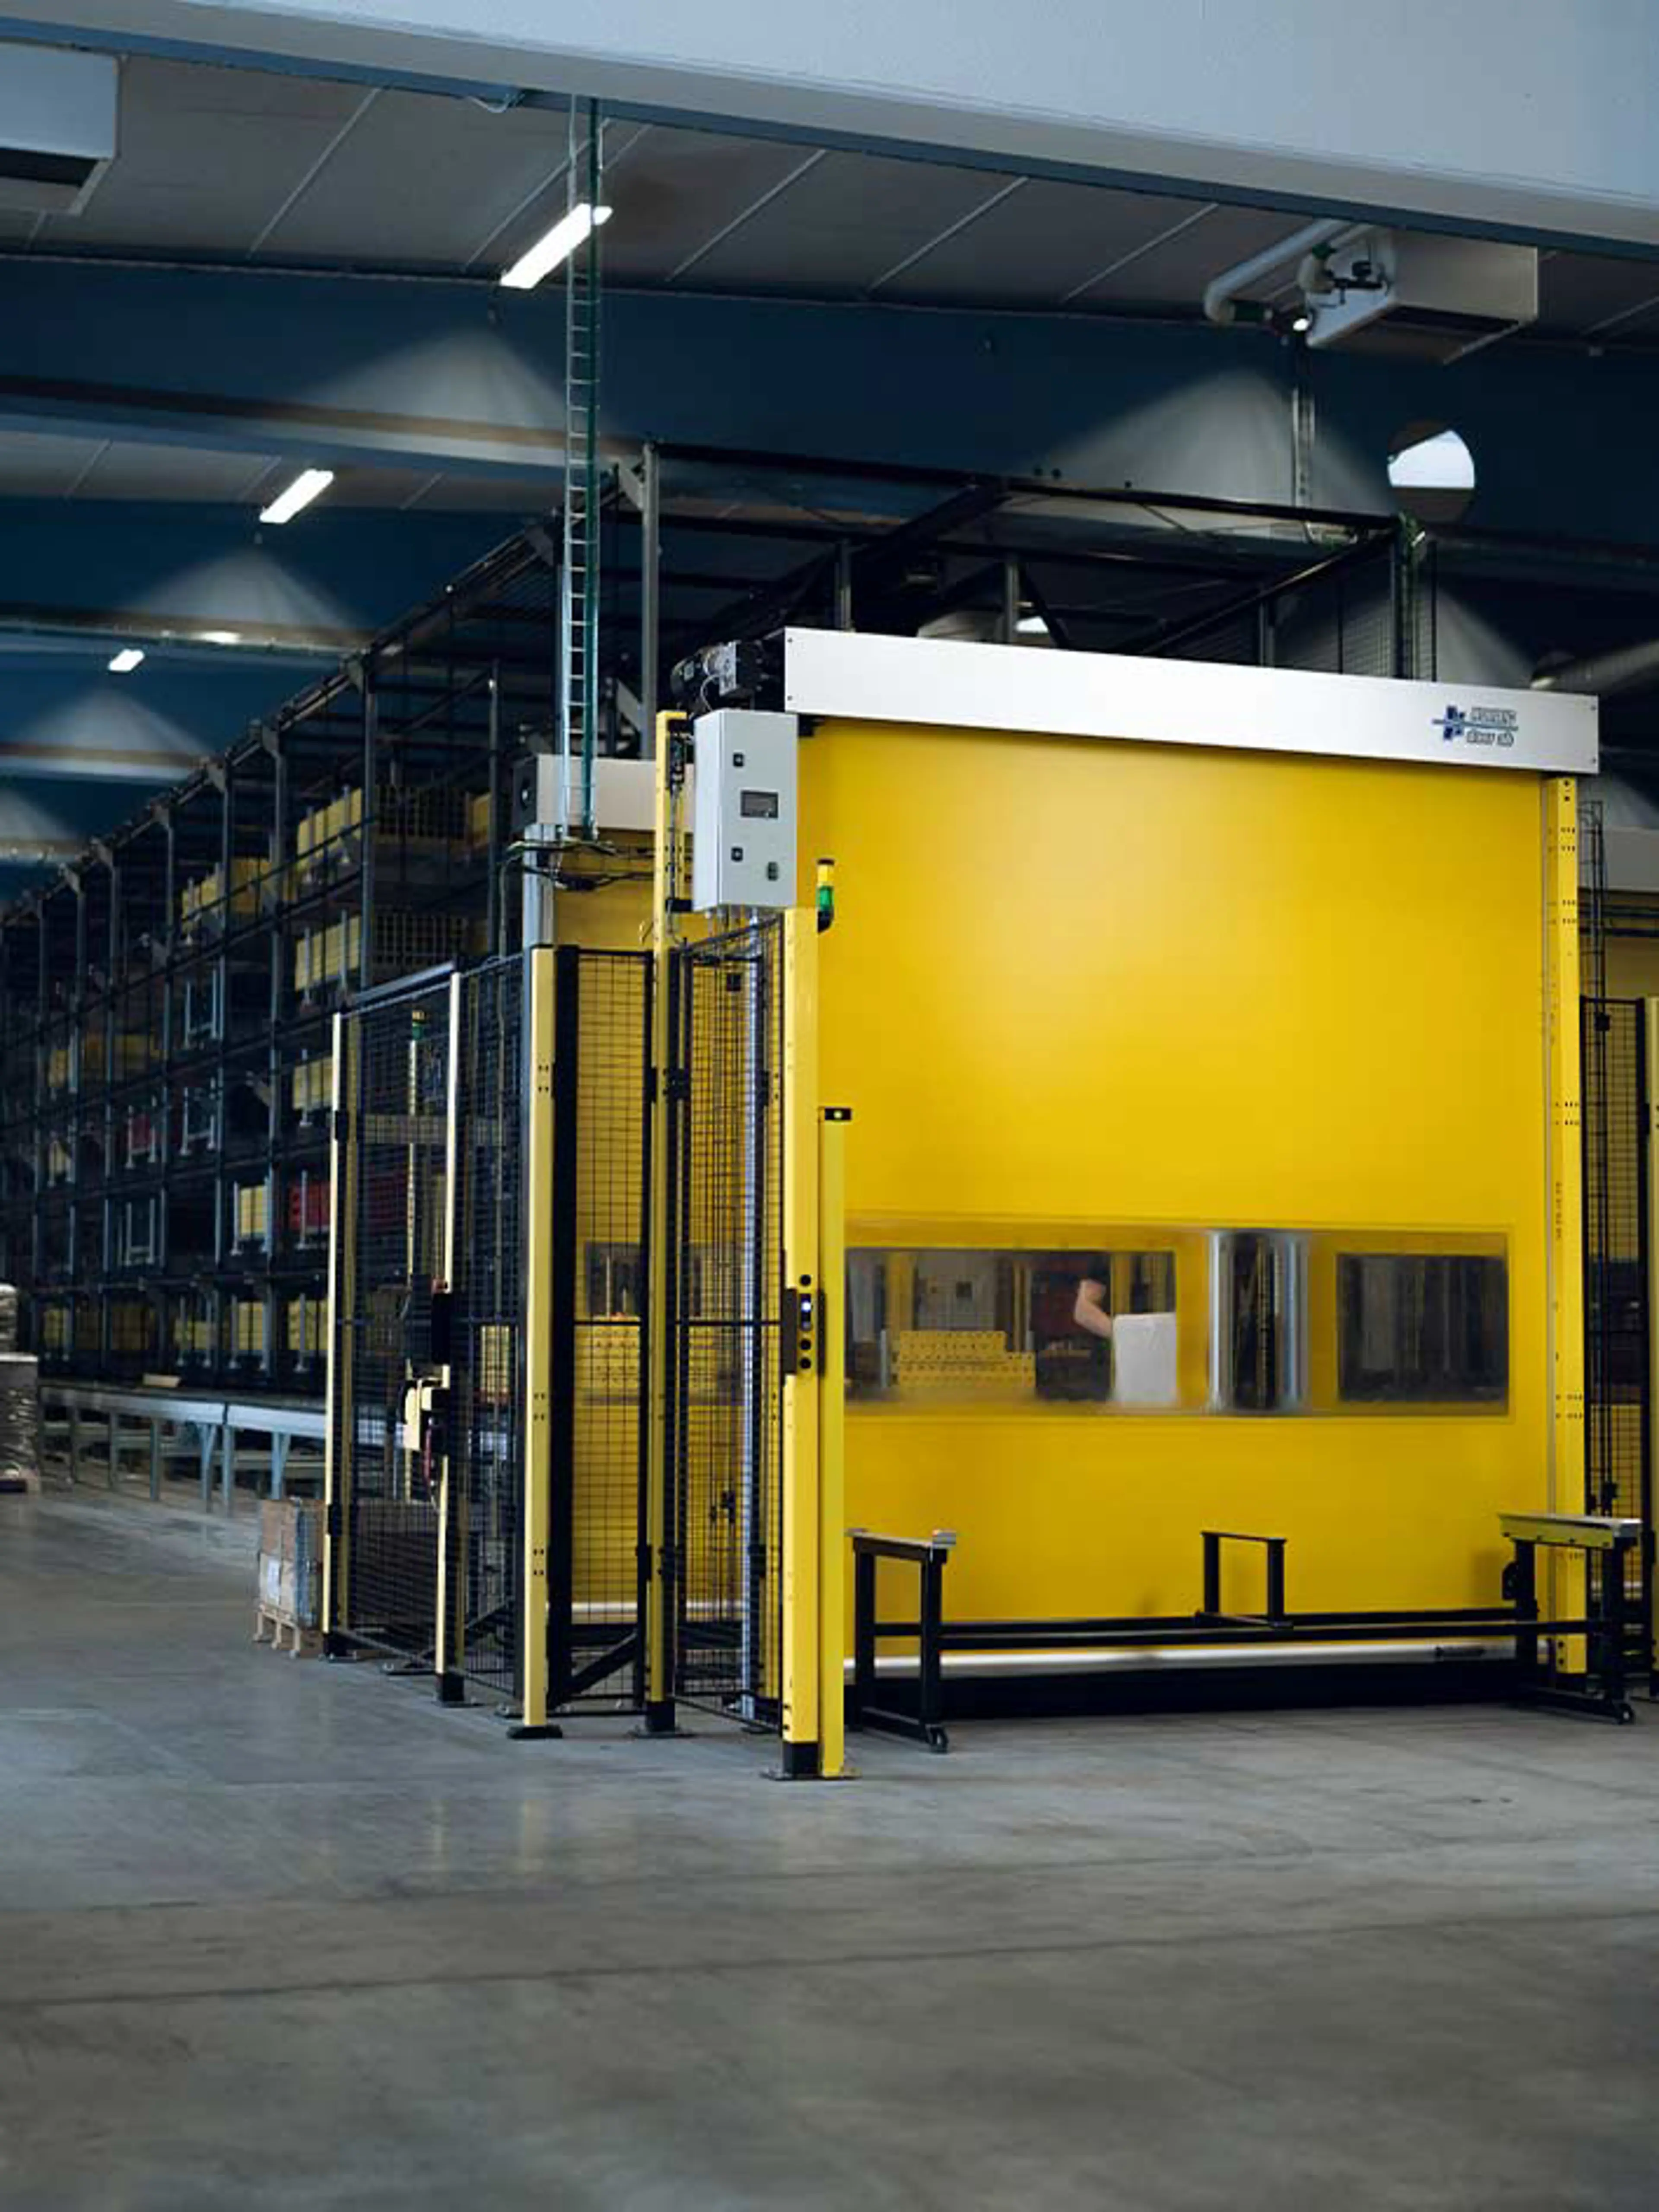
To save time or move big heavy guards, electric, pneumatic or even hydraulic drives are sometimes employed to power guards.
Powered moving guards may present a crushing or shearing hazard. If that is the case, the guard must be fitted with additional safety equipment. Additionally, force/speed of moving guards must be kept within tight limits.
Without any additional safety devices a force of 75 N and the energy of 4 J may not be exceeded by a closing guard. This is to prevent broken limbs or even more severe injury, but 7.5 kg on your finger will still hurt.
For this reason so called “trip bars” are used on powered guards. A trip bar is a type of rail or rubber fin that detects body parts in the way of the moving guard. The force actuated by the moving guard trips this device and the guard will stop moving or even return to its open position.
The trip force is limited to 150 N and 10 J.
As alternatives to a trip bar one may use counterweights or another form of force reduction (slip-type coupling, pressure reduction valves, torque limiters).
Join safety expert Matthias Schulz in this focused webinar exploring key international standards for access to guarded areas. Understand the essential rules tailored to the reason and frequency of access, ensuring safety and compliance in line with global best practices. The webinar starts at the 2:00 minutes mark.